My Ravioli Making Adventure.
Beefy Ravioli
I have always wanted a good recipe for beefy Ravioli. I have made several through the years but I have always tried a meatball type mix and the filling after the ravioli are cooked have always been very dense. I finally came up with a good filling recipe and the Ravioli I made yesterday were excellent.
For the filling
1/2 pound of ground beef
1/2 packet of Beefy Lipton Onion Soup Mix. (they are called Beefy Ravioli, lol)
1/2 teaspoon of garlic powder
1/2 teaspoon of salt
1/2 teaspoon of pepper
7 Saltine crackers soaked in 1/2 cup of water
1 egg, beaten
2 tablespoons of grated Parmesan cheese.
The trick I learned was to brown the ground beef first, which I did with the Beefy Onion Soup mix. I waited until all the moisture from the beef cook off and then allowed it to cool. I then mixed in the rest of the ingredients, draining off whatever water was left from the soaking crackers. I Mixed the filling very well and then refrigerated it overnight.
Now I have always wanted to make Ravioli pleasing to the eye too. I do have a Ravioli Maker that goes onto my hand crank pasta maker but it doesn't allow for very much filling in a Ravioli at all so I have only used it a few times.
I usually just lay out a sheet of pasta, put several dollops of filling onto it. Moisten around the filling with water and then set another sheet of pasta over it and seal the edges and then cut the Ravioli into squares. When boiling the Ravioli the seal is very poor. The filling usually leaks out into the pasta water. These Ravioli are always very rough in size and texture.
I have tried Wanton wrappers which work out very well but I don't usually have onto wrappers sitting around.
I went online to see what I could find for Ravioli Makers. I came across molds that kind of resemble ice cube trays. They are metal and come in different designs for Raviolis. The prices ranged from around 26.00 to 69.00. Sorry, I'm not paying that much for an ice cube tray.
I decided to make my own version of a Ravioli Mold. I went to work and came out with a pretty good first attempt invention. You will see it in the following pictures. Yes, I did do pictures.
Before those though, My pasta dough is very simple, 3 cups of flour, 3 eggs. I Always use 1 egg for each cup of flour. Just a bit of olive oil. I combine these ingredients to form a crumbly mixture and then slowly add up to 1/4 cup of water to form a nice stiff dough. I then let the dough rest before rolling it out. I use my pasta roller for this. I have done it by hand but the pasta roller makes the process a whole lot quicker.
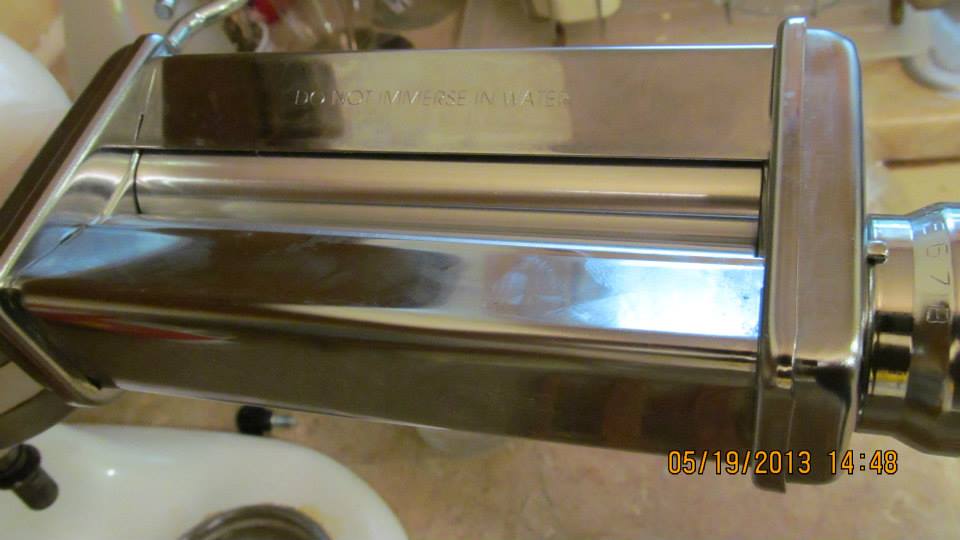
My old Pasta Roller. This is what I used back in the day. Today I use the sme concept of a roller but it mounts on my Kitchenade.

My Invention, Ravioli Mold. It Doesn't look like much but what did you expect?

The Filling

Sheet Of Pasta
I then pushed the meat filling into the pockets and
Brushed water around the filling.

I place a sheet of pasta over the filling.
I roll over the pasta pressing everything into the mold and
sealing the pasta.

Roll the pasta to seal the pasta and then flip over the mold.

Roll over the mold to seal the Raviolis

Lift off the Ravioli Mold and trim the outside edges with a Pastry Cutter.

Cut individual ravioli

Place Ravioli on a sheet pan that has been sprinkled with cornmeal.
I just make a plain Marinara type sauce and kick it up with some hot pepper flakes. I cook the Ravioli at a gentle boil until they float to the surface. Give them about five more minutes and then add them to the sauce and allow them to simmer in the sauce for a good ten minutes. I gently stir them every few minutes to make sure they don't stick to the bottom of the pan. This recipe makes fifty 2"x2" Ravioli. When I get a chance I will do my recipe for Butternut Squash Raviolis.
If these ravioli are to be saved, once they are all cut and placed on the sheet pan, just set the sheet pan in the freezer and freeze the ravioli. Then place the ravioli in a freezer bag for later use. Just remember, even if frozen. When placed in boiling water, once they float, they are cooked.
Butternut Squash Ravioli Recipe.
Very simple.
Half the squash and brush with olive oil or butter and bake at 375 until soft. About 30 minutes.
Allow squash to cool and scrape out squash into a mixing bowl.
Process about 10 gingersnap cookies in the food processor to make coarse crumbs and mix them into the squash mixture. I also add a 1/2 tsp of ground cinnamon at this point. The squash mixture should be stiff enough to hold its shape on a teaspoon.
Fill ravioli as done above.
Here is the twist that will make anyone's day.
Boil the ravioli until they float and remove them from the water and let them cool. Set up a dredging station with 3 stations, the 1st with flour, the second with a bowl with an egg mixed with just a touch of water and the 3rd a cup of plain breadcrumbs.
Dredge the boiled and cooled bread crumbs in the flour 1st, then into the egg wash and then toss and coat with the breadcrumbs. Do about 10 ravioli at a time and then deep fry them in 350-degree oil until golden brown. 2 minutes top. Remove them from the oil and toss the fried ravioli in a sugar and cinnamon mixture. I usually use about a half cup of sugar with a 1/2 teaspoon of cinnamon.
These fried ravioli are amazing and I have never met a kid that does not like them.
No comments:
Post a Comment